
THE SLOW & STEADY ONE
Pour-over
Pour water through a bed of coffee and a paper filter. A hands-on way to explore how a few small changes affect your cup.
Try the starter guideTHE EVERYDAY COFFEE COMPANION
A little know-how. A few good beans.
A morning ritual worth slowing down for.
Simple home brewing guides for curious people. Start with what you have, learn what you like, and make the next cup your own.
Start with a simple brew Explore the methods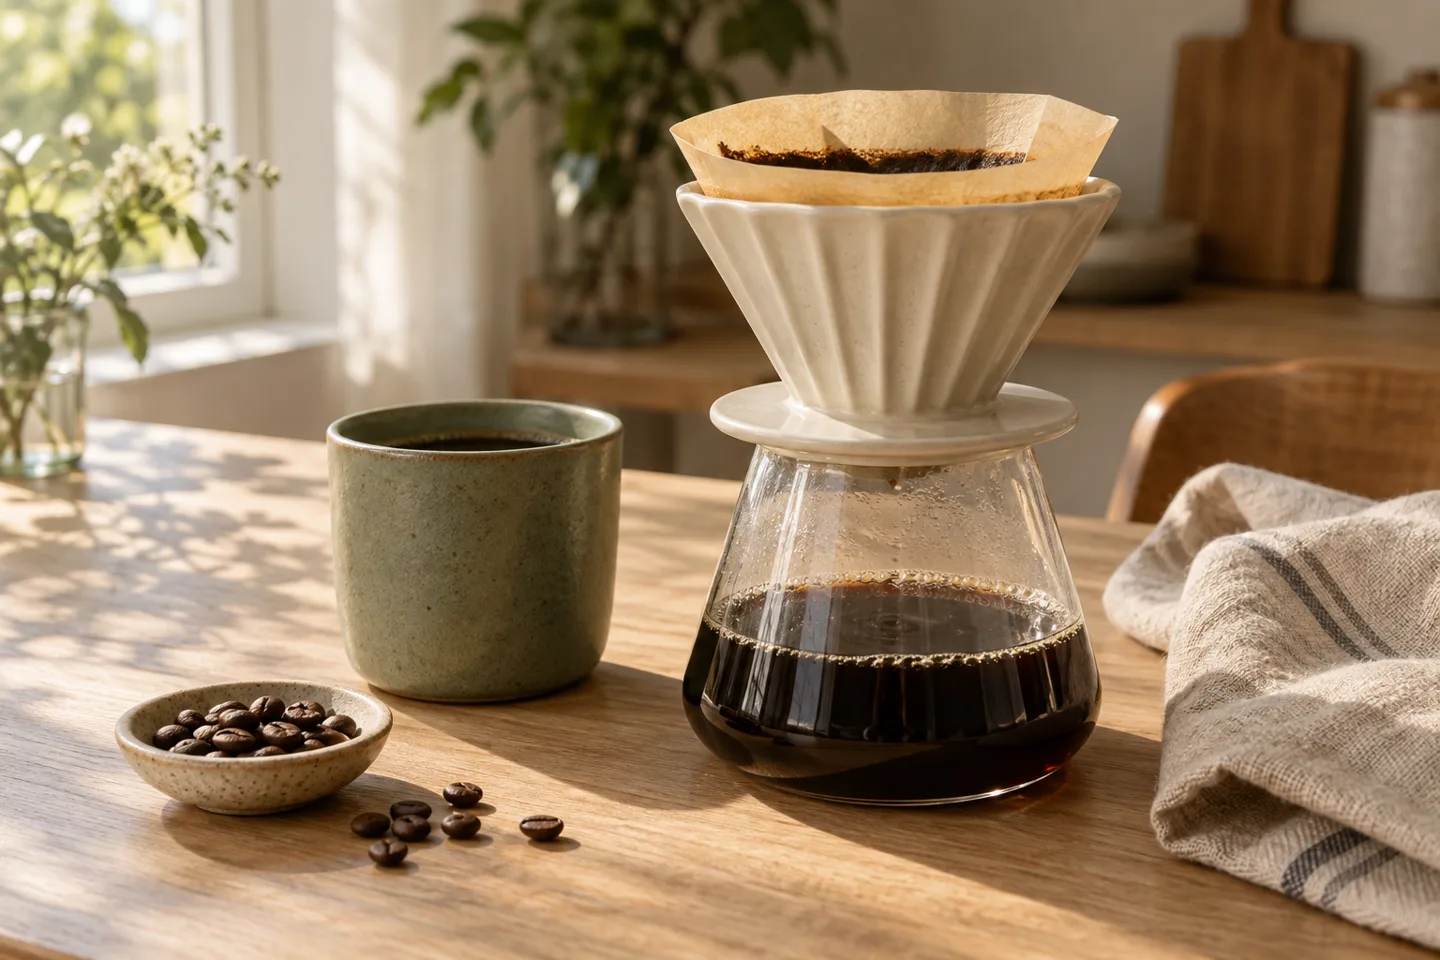
A GOOD PLACE TO BEGIN
Different methods, different mornings.
Choose a starting point that fits yours.
THE SLOW & STEADY ONE
Pour water through a bed of coffee and a paper filter. A hands-on way to explore how a few small changes affect your cup.
Try the starter guideTHE UNCOMPLICATED ONE
Let the coffee steep, then separate it with the plunger. An easy ritual when you would rather pause than keep pouring.
Meet the French pressBEFORE THE FIRST SIP
You don’t need a shelf full of gadgets. Start with coffee you want to taste, a repeatable recipe and one question to explore.
Build a simple setupA LITTLE LESS GUESSWORK
A brew ratio is just coffee to water, measured by weight. At 1:16, every gram of coffee gets 16 grams of water.
These are useful starting points for filter coffee, rather than rules. Pick a dose and a ratio, taste the result, then change one thing.
Water here means the amount added to the brewer. Your finished drink will weigh less because the grounds retain some water.
YOUR FIRST POUR-OVER
Use this as a practice recipe. It is an original starting point, not a manufacturer’s instruction or a promise of the perfect cup.
You’ll need a stable dripper, the matching filter, a mug or carafe, a kettle and a scale. Follow your brewer’s instructions and handle hot water carefully.
Explore Hario’s official guidesPlace the brewer on a stable mug or carafe. Fit the correct paper filter and rinse it if your brewer’s instructions recommend it. Empty the rinse water before adding the coffee.
Add 15 g of ground coffee and level the bed gently. Reset the scale. Slowly add about 40 g of hot water to wet the grounds, then pause for roughly 30 seconds. This pause is a starting choice for this practice recipe.
Add the remaining water in a few steady pours until the scale reads 240 g in total. Keep the water inside the filter and avoid overflowing the brewer. Let it drain; record how long your own brew takes.
Let the drink cool enough to taste safely. Write down the dose, water weight, grind setting and one thing you notice. Repeat the same recipe before changing a single variable. Your taste is the useful feedback.
LESS KIT. MORE CURIOSITY.
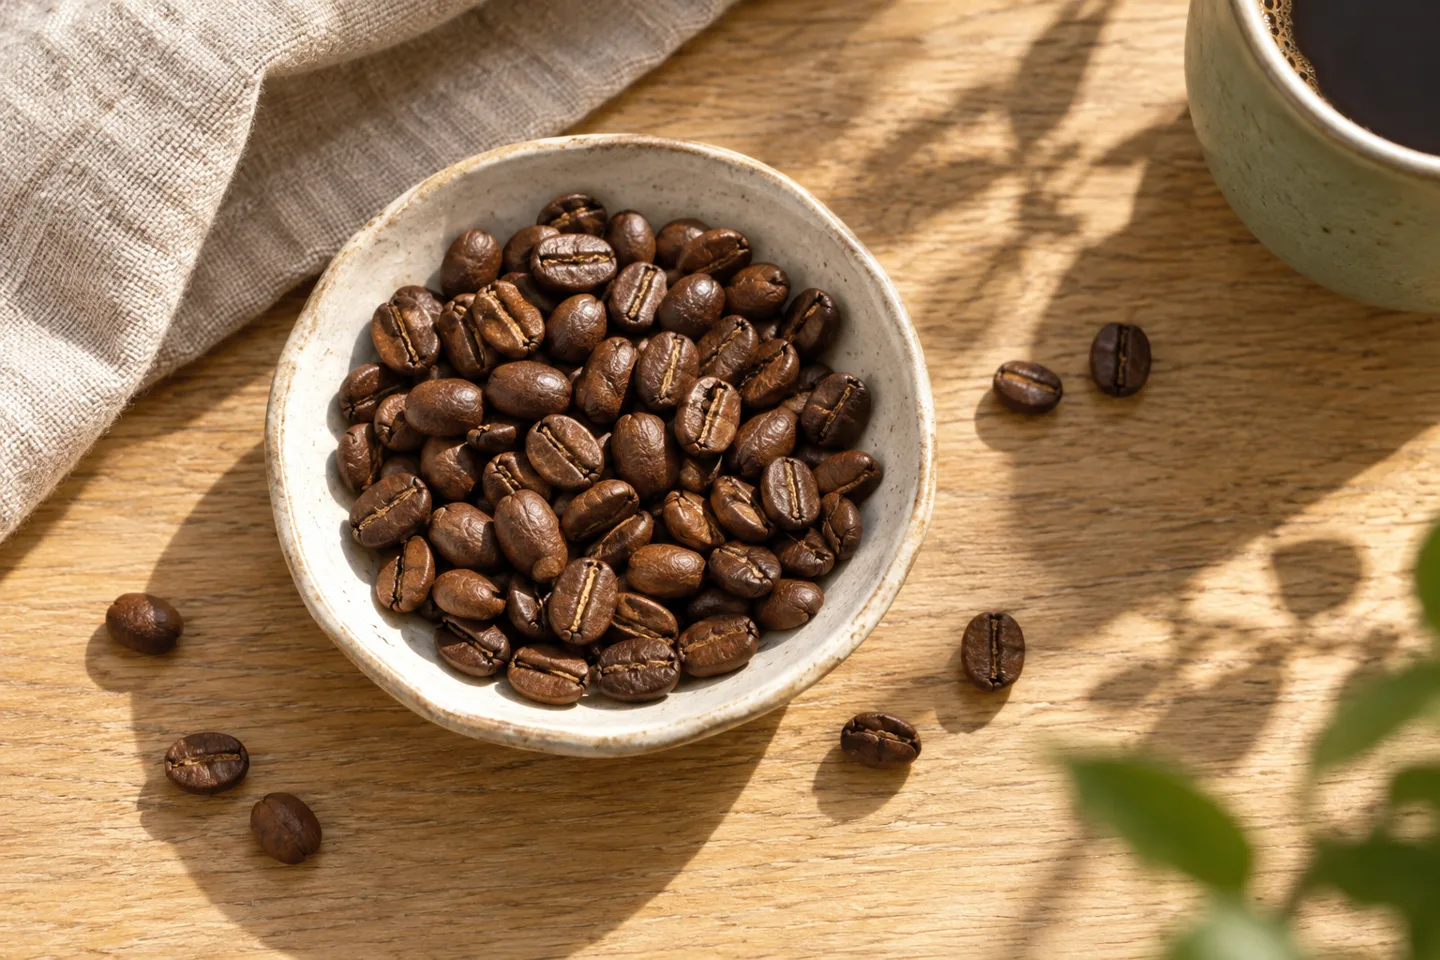
Choose one coffee to start. Read the roaster’s description as a suggestion, then make your own notes. You don’t need to identify every tasting note to enjoy the cup.
A scale makes the dose and water amount easy to record. If you use a grinder, note its setting too. A simple, repeatable routine is more useful than changing several things at once.
Would you like more intensity, a different texture or a gentler flavour? Pick one change to explore and compare the next cup. “I like this one” is a perfectly good tasting note.
TAKE THE SLOW ROUTE
The idea is straightforward: grounds and water spend time together, then the plunger helps separate them. Start with the instructions for your own brewer. Use the ratio planner to record a dose and water amount you can repeat.
When the steep is complete, lower the plunger gently. Pour the coffee into your cup rather than leaving the entire drink sitting on the grounds. Note the time, grind and texture you prefer before changing the next brew.
A press and its glass can become hot. Keep it stable and never force a stuck plunger.
Find an official French press recipe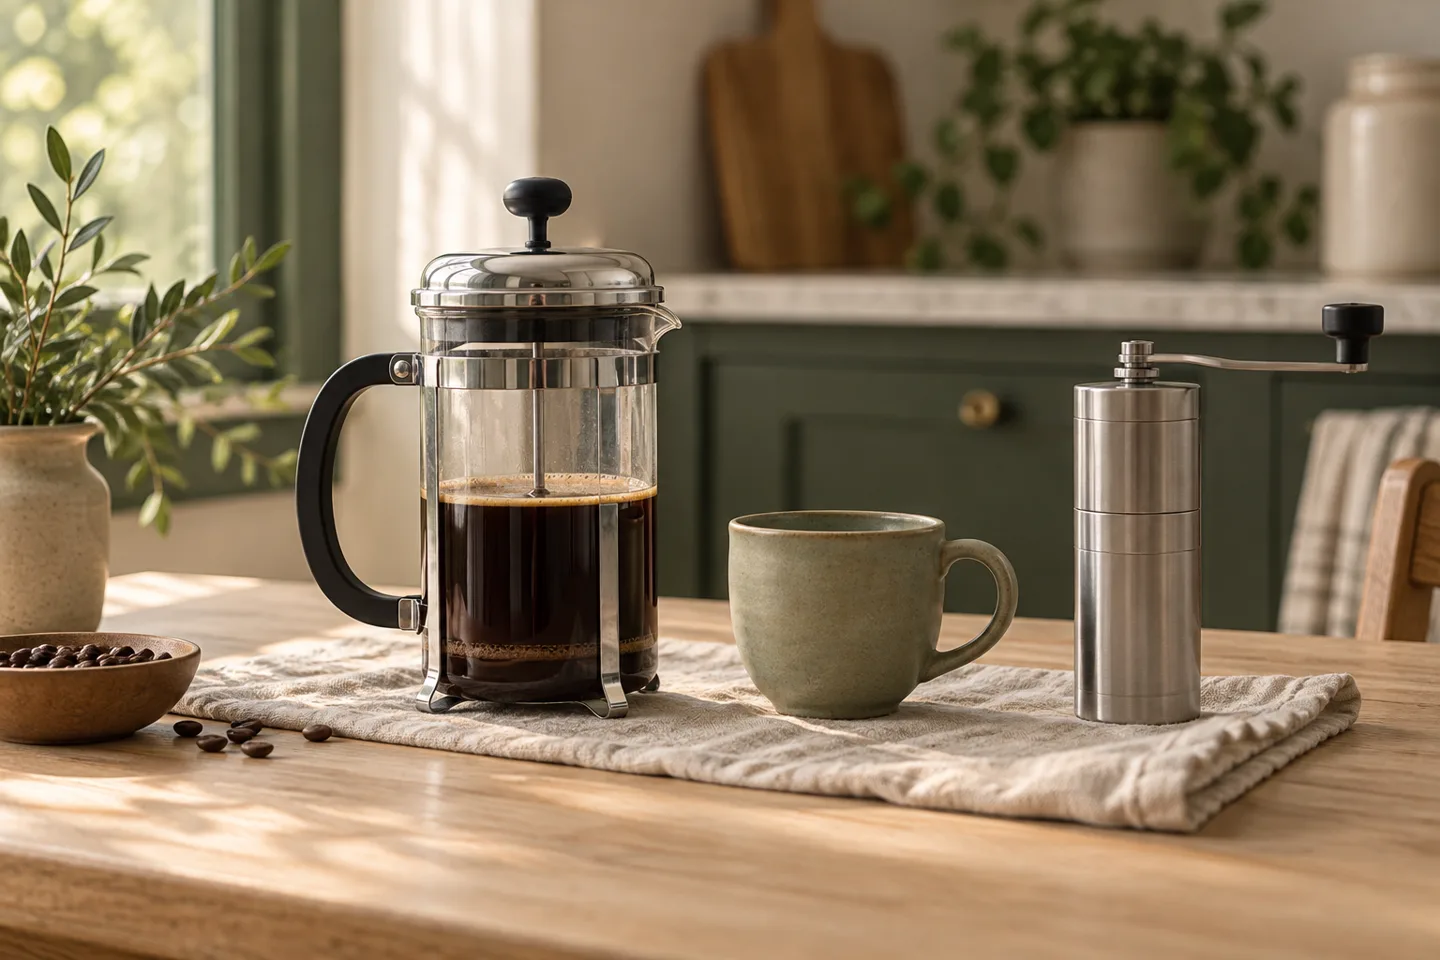
SMALL QUESTIONS, USEFUL ANSWERS
There’s room to experiment.
Start simple and keep a note.
It means one part coffee to sixteen parts water by weight. Multiply the coffee dose in grams by 16 to find the water added to the brewer: 15 g of coffee uses 240 g of water. It does not mean your finished drink will weigh 240 g.
Start with a brewer you already have and follow its instructions. A kettle, suitable vessel and a way to measure your recipe can be enough to begin. Decide what makes your routine easier before buying more equipment.
Yes. Choose a grind intended for your brewer and keep the rest of the recipe consistent. If the result is not to your taste, write down what you would like to change before moving to a new coffee or grind.
No. A ratio changes the amount of coffee relative to the water, but grind, method and contact time also matter. Use the planner as a starting point and compare small changes. Better is the cup you enjoy.
For a different approach, AeroPress has instructions for each of its brewers. Use the instructions for your model rather than applying this pour-over practice recipe to a different device.
KEEP EXPLORING
HAVE SOMETHING BREWING?
doodlecoffee.com is part of the DoodleSale portfolio. Check the current listing and available lease options.

